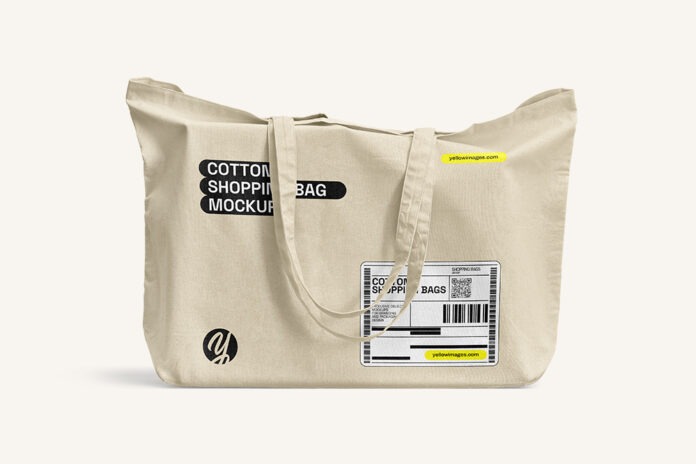
A realistic product image created by mockups is a digital representation of a product that mimics its appearance in a real-life setting. As a designer, visualizing realistic images is essential. It is like the secret ingredient that adds that extra professional touch to your brand’s presentation. It captures the essence and details of the item in a way that feels authentic and true to life.
Visual representations with mockups can enhance communication between your team and stakeholders and ultimately make your life easier as a designer. And, in this article, we’ll teach you how to do just that.
9 Steps to Creating Realistic Product Images with Mockups
Creating realistic graphics—if done correctly, has lots of advantages. Here’s how to take advantage:
Step 1: Choose the Right Mockup Generator
To begin, it is essential to buy from a reliable mockup generator that suits your specific needs. Each platform offers unique features and a wide range of mockup templates to choose from. For example, Yellow Images’ unique features include advanced customization options, 3D models, and a user-friendly interface among others.
Step 2: Select the Perfect Mockup Template
Once you have chosen a mockup generator, browse through their extensive collection of creative templates. Look for templates that closely resemble your product or align with your desired aesthetic.
Pay attention to details such as lighting, angles, and background settings, as these elements greatly impact the realism of the final image.
Select a template that best showcases your product’s unique features and highlights its value proposition.
Step 3:Customize the Mockup
After selecting a template, it is time to customize it to match your product’s branding and specifications.
Mockup generators offer basic customization options like changing colors, adding logos, and adjusting shadows. Take advantage of these features to make the mockup align with your brand identity.
Ensure that the product image accurately represents your product’s size, shape, and design elements. This step is crucial for creating a realistic and cohesive final image.
Step 4: Integrate High-Quality Images
To enhance the realism of your product image, consider integrating high-quality pictures into the mockup. This can involve using professional product photography or utilizing stock images that closely resemble your product.
Pay attention to details like resolution and image quality to ensure a seamless integration between the product and the background. High-quality images contribute to brand representation and enhance the overall visual appeal of the product mockup.
Step 5: Adjust Lighting and Shadows
To create a realistic product image, it is important to pay attention to lighting and shadows. By fine-tuning the lighting settings within the mockup, you can create a more natural and authentic look. Pay attention to the direction, intensity, and color of the light source to create realistic highlights and shadows on your product.
Also, you should experiment with different lighting setups to achieve the desired effect and ensure that the lighting complements the overall composition of the mockup. This step adds depth and dimension to the image, making it more visually appealing and lifelike.
Yellow Images is one of the few mockup generators where you can alter shadows, reflections, and lighting—creating a 3D appearance.
Step 6: Showcase Different Angles and Perspectives
To provide a comprehensive view of your product, you should showcase it from different angles and perspectives within the mockup. This allows potential customers, clients, or stakeholders to get a better understanding of the product’s features and design. Experiment with various angles, close-ups, and 360-degree views to create a dynamic and engaging visual experience. Remember to maintain consistency in lighting and shadows across all angles to ensure a cohesive and realistic representation.
Step 7: Adding Context and Lifestyle Elements
To create a more relatable and aspirational image, you should consider adding context and lifestyle elements to your mockup. This can involve incorporating relevant props, backgrounds, or even models that represent your target audience. By doing so, you can help potential customers envision how your product fits into their lives, enhancing the emotional connection and desirability of the product.
Step 8:Preserving Image Quality
Throughout the entire process, it is essential to preserve the image quality of your mockup. Start with high-resolution product images and ensure that they are properly scaled and optimized for the mockup template. Avoid over-compressing or resizing the images, as this can lead to loss of detail and clarity. Additionally, save your mockup files in a lossless format like PSD (Photoshop Document) to retain maximum quality and flexibility for future edits.
Step 9:Leveraging Design Tools and PSD Files
If you are using Adobe Photoshop or other design tools, take advantage of their powerful features to further enhance your mockup. Use layers, masks, and adjustment tools to fine-tune details, colors, and effects. PSD files offer the flexibility to make changes and adjustments to individual elements of the mockup, ensuring a seamless integration of your product into the scene. This allows for easy customization and refinement, saving time and effort in the design process.
Conclusion
By having realistic product images, businesses can build trust with their customers. When people see a product that looks genuine and well-presented, it gives them confidence that what they see is what they’ll get. It helps them visualize how the product might fit into their lives and encourages them to make a purchase. In the long run, realistic product images help to boost sales and, as such, are a worthy investment.


